Content creation is an exciting path, but technical hurdles can be frustrating. If you have recently switched to Nobara Linux, you might find that professional editing software requires a bit of extra setup. Do not worry—I am here to guide you through every technical step to get your studio running smoothly.
To begin your journey into professional video editing, we must first prepare the operating system. Nobara Linux is specifically designed for gamers and content creators, but due to certain licensing restrictions, it does not come with every necessary media codec pre-installed. Your first task is to open the Welcome to Nobara application. Once the window appears, navigate to the First Steps tab. Here, you will find an option to Install media codec packages. This is a crucial step because these codecs are the “interpreters” that allow your computer to understand various video and audio formats. Click launch, enter your administrative password, and accept the prompts. This process ensures that your system can handle the high-demand playback required for editing.
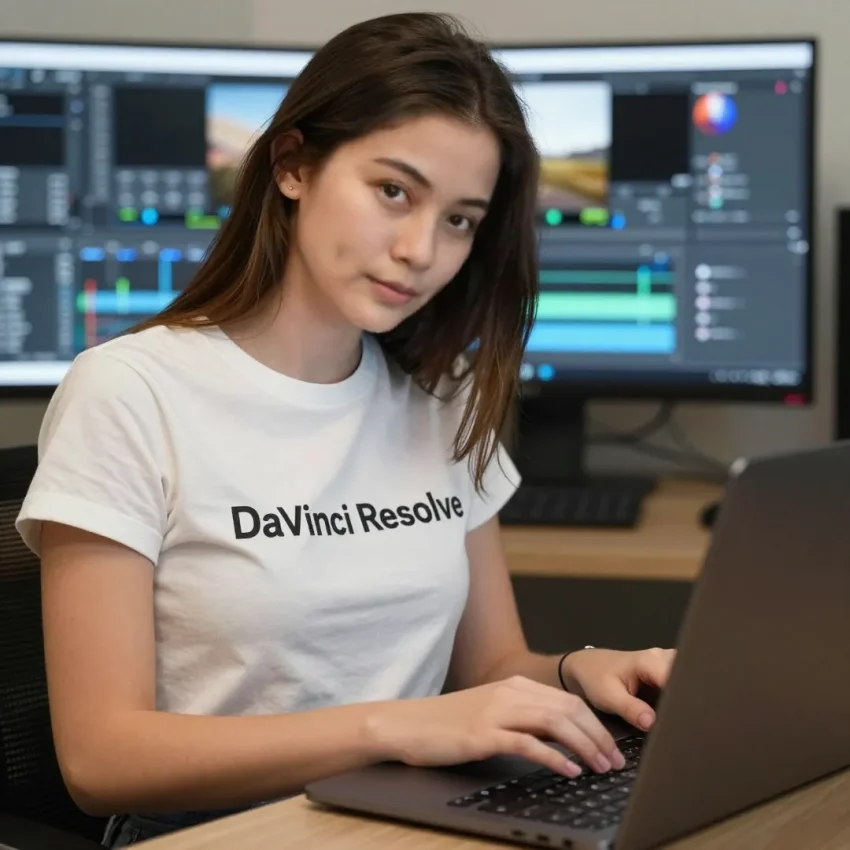
Once your system is updated with the necessary codecs, we can proceed to the installation of the software itself. Navigate to the Optional Steps tab within the Nobara Welcome app and locate the Install or Update DaVinci Resolve section. If you have not downloaded the installer yet, there is a helpful link to the Blackmagic Design website. On their site, select the Linux version of DaVinci Resolve. Please note that the free version requires you to fill out a registration form. Once the download is complete, return to the Nobara installer and click Select Downloaded ZIP. The system will then run a specialized script that handles the extraction and configuration of the software, ensuring all dependencies are met. This is much more efficient than manual installation, as it places all files in the correct directories for the Linux environment.
However, once you launch DaVinci Resolve and import your first video, you might notice a significant problem: the video appears black, and there is no audio waveform. This occurs because the free version of DaVinci Resolve on Linux does not support proprietary codecs like H.264 or AAC audio due to licensing costs. While the Windows and macOS versions include these, the Linux version expects you to use open-source or professional formats like ProRes or DNxHR. To solve this without spending money on the Studio version, we must convert our footage.
I recommend using a tool called HandBrake. You can install this via Flatpost (or any Flatpak manager). HandBrake is a powerful transcoder that can change your video’s internal “language” into something DaVinci Resolve understands. Open HandBrake and load your source video. Under the Video tab, change the Video Encoder to AV1. AV1 is a modern, open-source codec that Resolve handles very well. Next, go to the Audio tab. Since Resolve’s free Linux version often struggles with AAC, you should change the audio codec to FLAC or ALAC (24-bit). These are “lossless” formats, meaning they preserve the high quality of your sound. Once these settings are applied, start the encoding process. When you import this new file into your project, you will see that the video playback is smooth and the audio is perfectly clear.
To save time in the future, you should modify your recording settings in OBS Studio so that your files are compatible from the start. Open OBS and navigate to Settings, then Output. Change the Output Mode to Advanced and click on the Recording tab. Here, you can set your Video Encoder directly to AV1 and your Audio Encoder to FFmpeg ALAC or FLAC. By doing this, every video you record will be ready to drop directly into the DaVinci Resolve timeline without any extra conversion steps. This technical optimization is what separates a beginner from a professional workflow.
Well done on completing this technical setup. Editing on Linux provides a stable and efficient environment once these initial configurations are handled correctly. I recommend exploring the “Fairlight” page for advanced audio mixing and the “Fusion” page for high-end visual effects once you are comfortable with the basic “Edit” page. Professional editing requires patience and a willingness to troubleshoot, but the creative rewards are worth the effort. Keep practicing your cuts, and your videos will look professional in no time. Good luck with your future projects!