
Have you ever wondered how professional software developers manage to keep their code clean and updated without spending all day doing manual tasks? The secret lies in automation. Using a clever tool called Workflows Plus Plus, you can turn your GitHub repository into a self-running machine that handles the boring stuff for you.
When we talk about automation on GitHub, we are usually referring to a feature called GitHub Actions. Think of GitHub Actions as a set of robotic arms that wait for you to do something, like pushing new code, and then immediately jump into action to perform a specific job. The Workflows Plus Plus project is a collection of high-quality, pre-made instructions that tell these robotic arms exactly what to do. Instead of writing complex code to manage your project, you can use these templates to ensure your software is tested, packaged, and delivered to users without you lifting a finger. This process is known in the industry as CI/CD, which stands for Continuous Integration and Continuous Deployment. It is a fundamental concept that every modern developer needs to understand because it ensures that code changes are always reliable and ready for use.
The Workflows Plus Plus repository offers a variety of specialized scripts written in a language called YAML. This language is very popular in the IT world because it is easy for both humans and computers to read. One of the most helpful workflows included in this collection is the “Auto-Release” feature. Normally, when a developer finishes a new version of their app, they have to manually create a release note, upload files, and tag the version number. With Workflows Plus Plus, the system detects when you have merged your code and automatically generates a professional release page for you. It even creates a changelog, which is a list of everything that was updated, so your users know exactly what is new. This level of organization makes your project look much more professional to anyone who visits your GitHub page.
Another technical marvel within this collection is the automated triage and labeling system. If you are working on a project with other people, you might receive many “Issues,” which are basically bug reports or suggestions. Managing these manually can be overwhelming. Workflows Plus Plus can automatically read these issues, assign them to the right person, and add labels like “bug” or “enhancement” based on the text inside the message. This happens through the use of “triggers,” which are specific events that start a workflow. For example, when someone opens a new issue, that is a trigger that tells GitHub to run the labeling script. By automating this, you save a lot of mental energy and can focus strictly on writing the actual code for your project.

Security is another critical area where Workflows Plus Plus provides immense value. It includes workflows that perform “Security Scans” or “Linting” on your code. Linting is a technical term for checking your code for small mistakes, like missing semicolons or messy formatting, while security scanning looks for deeper problems that could let hackers into your app. The workflows are designed to run every time you propose a change to your project. If the script finds a mistake, it will stop the process and alert you so you can fix it before the broken code ever reaches your main project. This creates a “safety net” that prevents major errors from happening, which is a practice used by big tech companies like Google and Microsoft.
To implement these advanced features in your own repository, you do not need to be a master programmer. You start by navigating to your repository and creating a specific directory structure. You must name the folder .github and inside that folder, create another one called workflows. This is a strict rule that GitHub follows to find your automation files. Once these folders are ready, you can browse the Workflows Plus Plus repository and select the YAML file that fits your needs. You copy the text from that file and create a new file in your own workflows folder with the same name. You might need to adjust a few settings, such as your branch names or “Secrets.” Secrets are sensitive pieces of information, like passwords or API keys, that you store safely in GitHub settings so the workflow can use them without showing them to the public. After you save and push these files to your repository, GitHub will automatically detect them and start your brand-new automated system.
Automation is the most important skill you can learn to move from being a beginner to a professional developer. Workflows Plus Plus takes the hard work out of setting up these systems by providing a reliable toolkit that is already tested and ready to go. By using these templates, you are not just saving time; you are learning how to build software the right way. I highly recommend that you start by adding a simple “Greetings” or “Labeler” workflow to your next project. Seeing your repository respond to your actions automatically is a fantastic feeling and will give you the confidence to explore even more complex DevOps tools in the future.
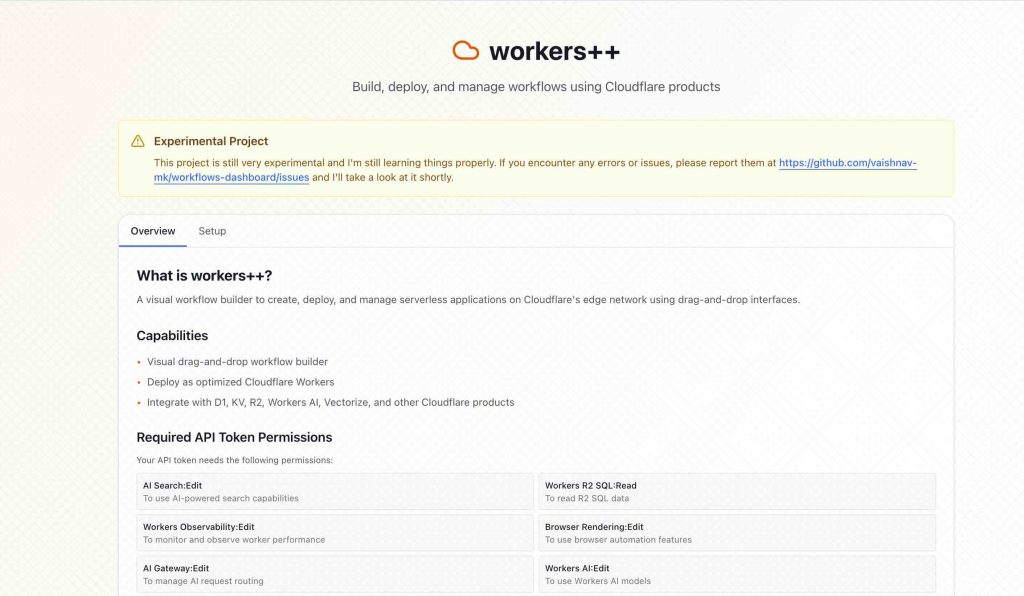
- Github Repo: https://github.com/vaishnav-mk/workflows-plus-plus
- Website: https://workflows.vaishnav.one