Have you ever wondered what it would look like if a computer program could step out of the screen and walk into the real world? We are not talking about a simple remote-controlled toy; we are talking about giving an Artificial Intelligence a physical body, eyes to see, and the freedom to explore the wilderness on its own. In this project, we are going to transform a high-performance RC car into a fully autonomous robot that can think, reason, and navigate rough terrain using the power of Python and advanced AI models.
To begin this engineering journey, we must first understand that a standard remote-controlled car is not smart; it simply obeys radio signals from a handheld controller. To change this, we need to replace the car’s “instincts” with a digital brain. For this project, we are using the Raspberry Pi 5, a powerful microcomputer capable of running complex code and managing data in real-time. This computer acts as the central nervous system. However, the Raspberry Pi cannot connect to the internet in the middle of a forest, so we attach a 4G HAT (Hardware Attached on Top) to allow us to communicate with the robot remotely via SSH. To give our robot sight, we install a high-quality sixteen-megapixel camera module with a wide-angle lens. This visual input is crucial because the AI needs to see obstacles like trees, snow, or rocks to make decisions.
The most challenging part of this build involves the wiring and the motor control system. A standard RC car uses a receiver that connects to a servo for steering and an Electronic Speed Controller (ESC) for the motor. Since we want the computer to drive, not a human, we must bypass the original receiver. We use a component called the PCA9685, which is a servo driver board. This board acts as a bridge between the Raspberry Pi and the car’s mechanics. We connect the steering servo to channel zero on the PCA board and use jumper cables to link the board to the Raspberry Pi’s GPIO (General Purpose Input/Output) pins. It is vital to ensure the black ground wires and red power wires are connected correctly, or you risk frying the electronics. During the initial build, we discovered that the stock ESC on the car was “locked” to the original remote, meaning the computer could not control the throttle. The solution was to replace it with a generic aftermarket ESC, allowing us to send direct Pulse Width Modulation (PWM) signals from our Python scripts to make the car move forward and backward.
Once the hardware is assembled, we move on to the software, which is the true magic of this project. We are not just writing simple “if-this-then-that” code; we are using an advanced AI model, specifically Claude, to generate the logic. By using a tool called Claude Code, we can create an autonomous coding workflow. A pro tip for managing complex software is to create a “sub-agent.” This is a secondary instance of the AI that reviews code and summarizes context, keeping the main memory buffer clean and efficient. For the steering logic, we build an MCP (Model Context Protocol) server. The robot takes a picture, sends it to the AI, and the AI analyzes the image to decide whether to turn left, right, or go straight.
However, a single flat image is often not enough for a robot to understand the three-dimensional world. A photo cannot easily tell you how deep a hole is or how far away a tree stands. To solve this, we implement a machine learning model known as Apple Depth Pro. This software analyzes the camera feed and creates a depth map, estimating the distance of objects in front of the car. Additionally, to help the AI understand motion and time, we created a system called the “Journey Grid.” Instead of sending heavy video files, the system captures six consecutive images and stitches them into a single collage. This allows the AI to see a sequence of events—like the car approaching a rock—giving it the context needed to understand if it is moving or if it is stuck.
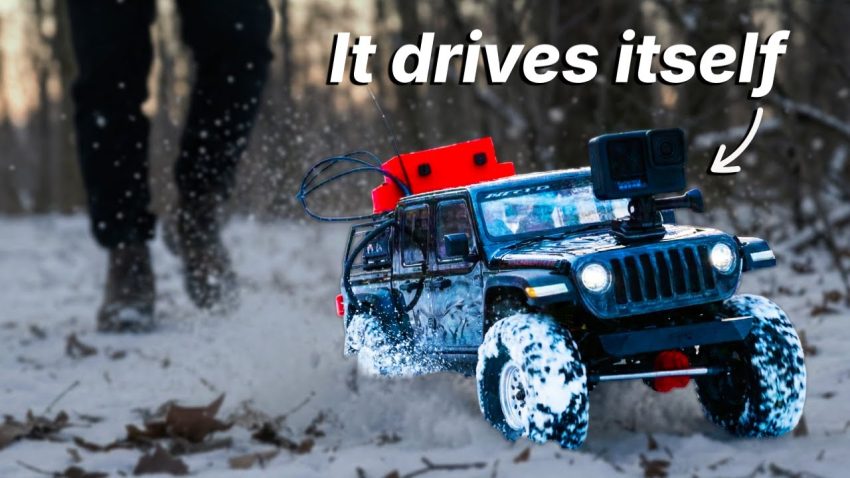
After weeks of coding, soldering, and troubleshooting, the result is a robot that feels surprisingly alive. We even 3D printed a crab-like shell to give it character. When we released it into the snowy wilderness, the robot did not just drive blindly; it observed its surroundings. Through the dashboard application we built, we could see what the robot saw. It navigated around massive trees, pushed through snowbanks, and even recognized the beauty of the forest. It is fascinating to watch the AI get stuck, pause to “think,” and then try a different path without frustration. This project proves that with the right combination of hardware like the Raspberry Pi and smart software architecture, we can build machines that do more than just execute commands—they can explore and appreciate the world around them.