
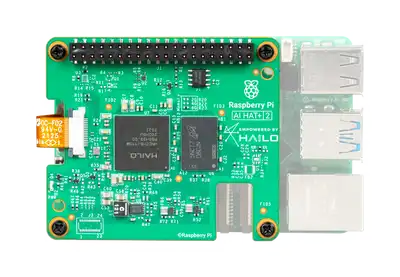
It is 2026, and the world of single-board computers continues to evolve with the release of the Raspberry Pi AI Hat+ 2. This hardware add-on promises to bring advanced artificial intelligence capabilities directly to your desk without needing a massive data center. However, with a price tag of $130, it is essential to understand if this dedicated AI processor offers enough performance to justify the cost, or if you are better off sticking with the standard Raspberry Pi hardware.
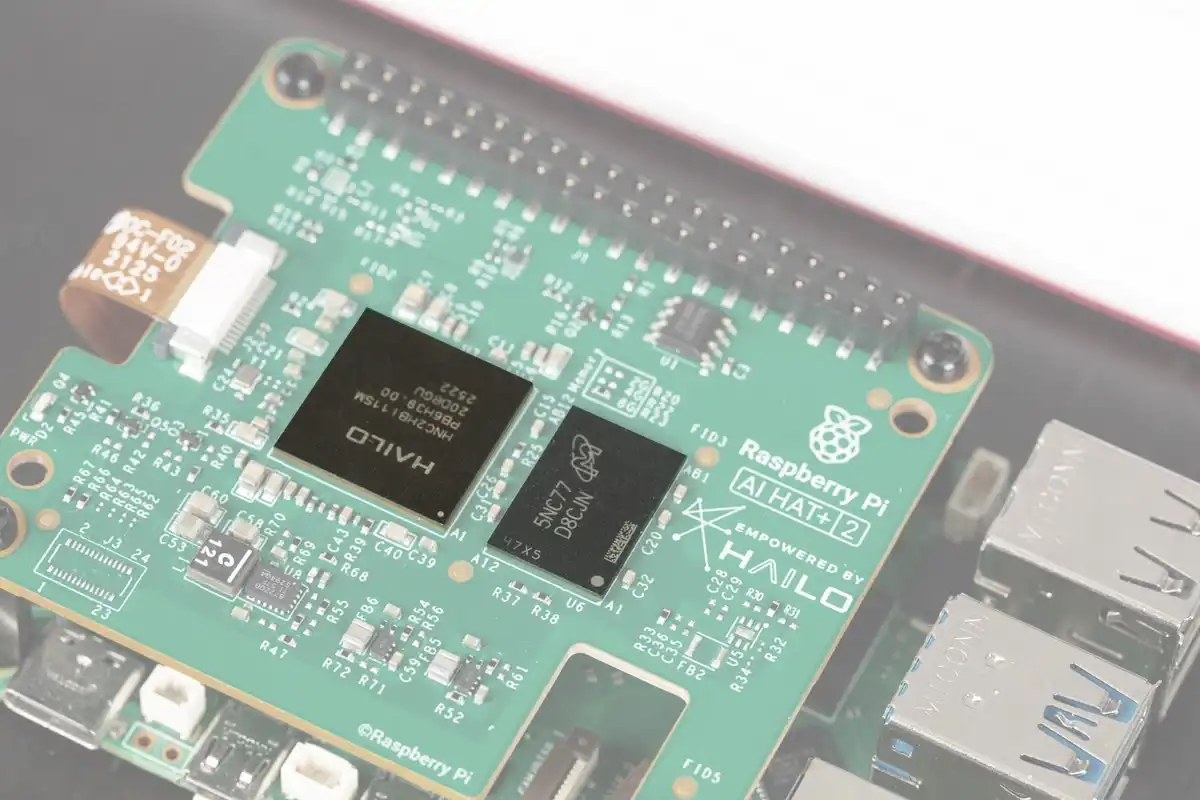
The most significant upgrade in this new version is the inclusion of 8 gigabytes of built-in LPDDR4X RAM. This is a dedicated memory pool, meaning the AI processor does not have to steal system memory from your Raspberry Pi to function. For a computer scientist or an enthusiast, this is a distinct advantage because it allows the main operating system to run smoothly while the “co-processor” handles the heavy lifting of artificial intelligence tasks. The heart of this board is the Halo 10H chip. In terms of raw numbers, it boasts 40 TOPS (Trillions of Operations Per Second) of INT4 performance. This might sound confusing because the previous model, the Halo 8, offered 26 TOPS of INT8 performance. To put it simply, the new chip uses a lower precision format called INT4 to achieve higher speeds, which is suitable for running Large Language Models (LLMs) locally.
When we look at performance testing, the results are quite surprising. You might expect a dedicated AI chip to crush the Raspberry Pi 5’s standard CPU, but that is not always the case. In tests comparing the two, the Raspberry Pi 5’s main processor actually performed inference faster on several models. The reason for this comes down to power consumption. The AI Hat+ 2 is designed to be extremely efficient, using only about 3 watts of power. In contrast, the Raspberry Pi’s CPU has a much larger power budget, allowing it to “muscle through” the calculations faster, even if it is less efficient per watt. This is a classic engineering trade-off: do you want speed, or do you want energy efficiency?
Furthermore, we must discuss the limitations of “tiny models.” The AI Hat+ 2 is restricted to smaller language models due to its memory and architecture. In practical tests, such as asking the AI to write a code for a simple To-Do list application, these tiny models often failed to produce functional code. They struggled with logic, such as determining the physics of space travel, often providing hallucinations rather than facts. This highlights a current reality in AI development: small, efficient models are great for very specific tasks, like categorizing text, but they lack the general reasoning capabilities of the massive models run by companies like OpenAI or Google.
If your goal is to run a smarter, more capable AI locally, you might actually be better off buying a Raspberry Pi 5 with 16GB of RAM. With that amount of system memory, you can run larger models, such as a compressed 30-billion parameter model. By using software like llama.cpp, you can fit these larger “brains” into the Pi’s RAM. To do this, you would typically use a command line interface to quantize and run the model.
# Example of running a quantized model on Raspberry Pi 5
./main -m models/qwen-33b-int4.gguf -p "Write a python script for a todo list" -n 512
In this scenario, the Raspberry Pi 5 CPU handles the task. While it might be slow, the quality of the answer is significantly higher than what the tiny models on the AI Hat+ 2 can produce. The larger model can successfully create the To-Do list app, allowing you to drag, drop, and check off items, which proves that for logic and coding, total system RAM matters more than a dedicated low-power accelerator.
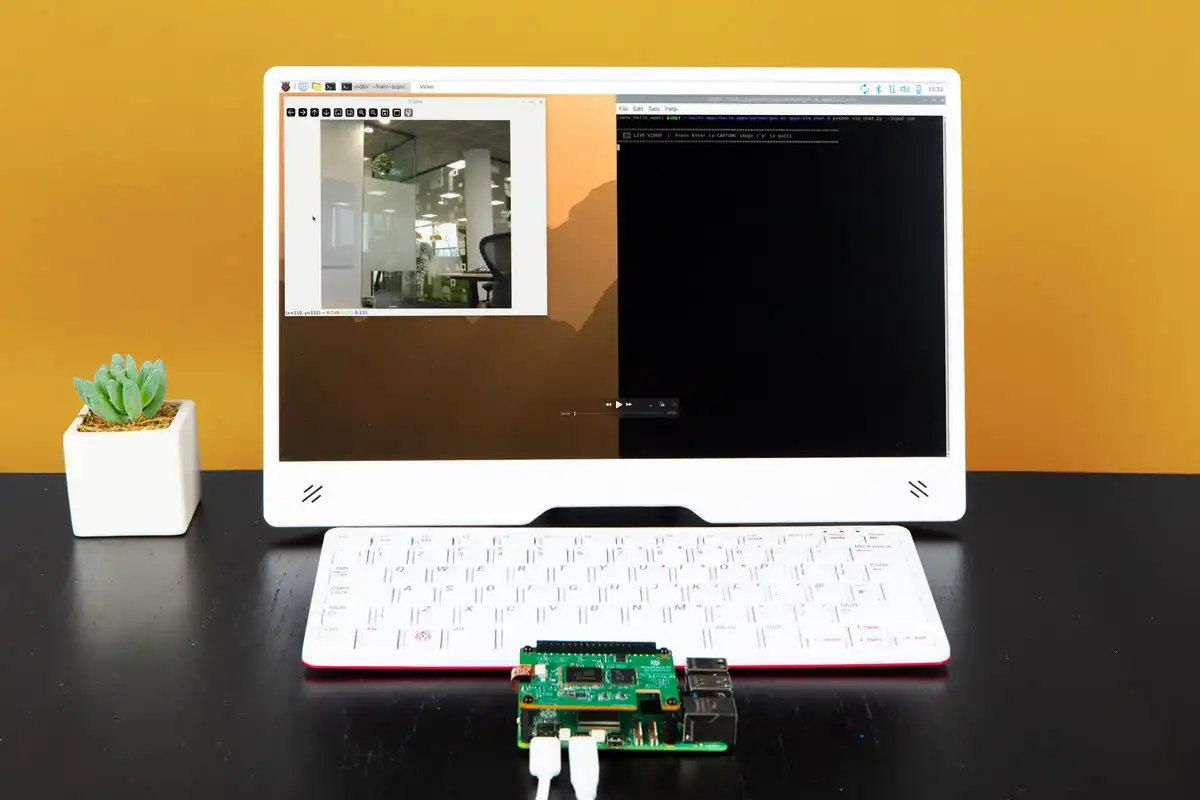
However, the AI Hat+ 2 does have a specific area where it excels, and that is computer vision. If you are building a robot that needs to “see” the world, this Hat is superior to the Pi’s CPU. When running object detection models like YOLOv8 (You Only Look Once), the Hat can identify objects like keyboards, mice, and scissors in real-time with a high frame rate. The Pi’s CPU, on the other hand, struggles with video, delivering a choppy experience that is too slow for a fast-moving robot. The Hat handles the video stream efficiently, keeping the power usage low, which is critical if your robot is running on batteries.
Despite these hardware strengths, the software experience currently leaves much to be desired. Early adopters often face “segmentation faults” and errors telling them the device is busy or not ready. It is a common theme in the tech industry that hardware is released before the software is fully polished. While Raspberry Pi has a good track record of fixing these issues over time, right now, getting the demos to work requires patience and technical troubleshooting. It is not yet a plug-and-play experience for beginners.
Conclusion
the Raspberry Pi AI Hat+ 2 is a fascinating piece of engineering, but it is a niche product. It is an excellent choice if you are building a battery-powered robot that needs efficient computer vision. However, if your main interest is chatting with LLMs or generating code, you are likely better off investing in a Raspberry Pi 5 with the maximum amount of RAM and running the models on the CPU. The extra $130 for the Hat does not currently provide enough benefit for general-purpose AI tasks compared to simply having more system memory. As you continue your studies in computer science, remember that newer hardware is not always the best solution for every problem; always analyze the specific requirements of your project first.