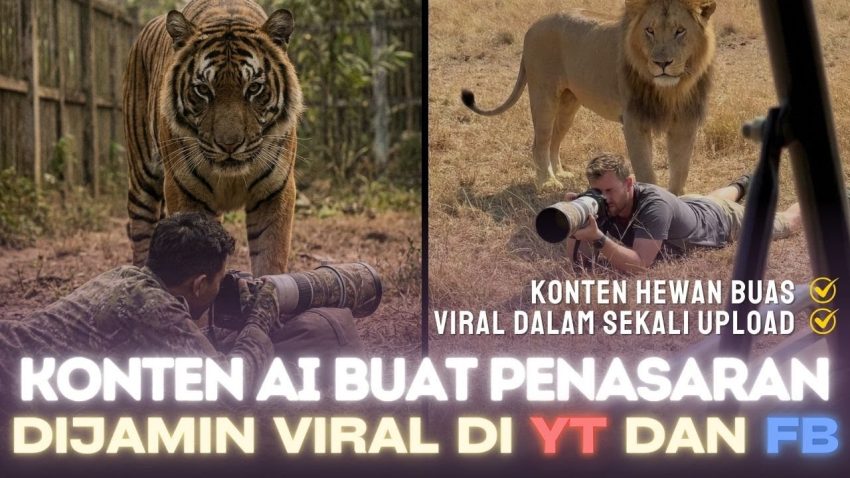
Hello, class! Have you ever seen those thrilling videos on social media where a photographer is focused on taking pictures, completely unaware that a massive tiger or a wild animal is sneaking up right behind them? It looks terrifyingly real, but guess what? It is actually 100% computer-generated. Today, we are going to learn exactly how to create this type of viral content using Artificial Intelligence. This is not just about making a cool video; it is about understanding how different AI tools work together to tell a story. Let’s dive into the technical process of turning a simple text idea into a suspenseful movie scene.
To begin this project, we need to understand the concept of “Prompt Engineering.” A prompt is simply the instruction you give to the AI. If you want a specific result, you cannot just type “man and tiger.” You need to be descriptive. In the viral video example we are analyzing, the content creator uses a specific Prompt Generator tool to help structure these instructions. However, as students of technology, you should know that you can write these yourself if you understand the formula: Subject + Action + Context + Environment. For our project, we want a photographer (Subject) taking photos (Action) with a wild predator behind him (Context) in a realistic zoo or savannah setting (Environment). The goal is to create a juxtaposition—a fancy word for placing two things together for contrasting effect—between the calm photographer and the dangerous animal.
The first major step in our workflow involves generating the base image. For this, we will use a text-to-image model. The reference material suggests using Google Gemini, specifically the advanced models like Imagen 3 (often referred to as the Pro version). You will need to log into the AI platform and input your detailed prompt. For example, you might write, “A realistic photo of a wildlife photographer crouching down to take a photo, viewed from behind, with a large, menacing tiger approaching him silently in a lush Indonesian zoo environment.” It is crucial to specify the setting, such as a zoo in Indonesia, to make it relatable to your target audience. Once the AI processes this text, it will generate a high-quality, static image. This image serves as the “reference frame” for our video. Always remember to download this image in high resolution because the quality of your final video depends entirely on the quality of this first picture.
Once you have your perfect image, we move to the most exciting part: Image-to-Video generation. This technology allows us to take a still picture and animate it. We will use an AI video generator platform—the transcript refers to a tool with “credits” and specific models like “VO3,” which likely refers to advanced video models similar to Kling AI or Google Veo. In this interface, you will not select “Text-to-Video.” Instead, you must select “Image-to-Video” or “Frame-to-Video.” This ensures that the AI keeps our photographer and tiger looking exactly the way they did in the picture we generated. You will upload your image and ensure the aspect ratio is set to “Portrait” (9:16). This vertical format is essential because most viral content is consumed on mobile phones via TikTok, Shorts, or Reels.
Now, here is the technical challenge. Most AI video generators only create very short clips, usually around 4 or 5 seconds. To make a video that is engaging enough for social media, we need it to be longer—at least 8 to 16 seconds. To achieve this, we use a technique called “Scene Extension” or “Scene Building.” After generating the first 4-second clip, you will view the video and find an option that says “Extend” or “Add Scene.” The AI takes the very last frame of your first video and uses it as the starting point for the next segment. You will create a second prompt for this extension, perhaps guiding the AI to make the tiger move closer or the photographer to shift his weight. By stitching these two generations together, we get a seamless video flow that tells a longer, more suspenseful story.
After downloading your raw video file, the final stage is Post-Production. We cannot simply upload the raw file; we need to polish it using video editing software like CapCut. Import your AI-generated video into the timeline. You might notice a watermark or logo from the AI tool in the corner. As a content creator, you want your video to look clean, so you should slightly zoom in on the video clip until the watermark is pushed off the screen. This is a common technique to maintain a professional look. However, the most critical element you must add is sound. A video of a tiger is not scary without sound. You need to find “suspenseful music” or “tension ambience” in the audio library. Lower the volume slightly so it is not overwhelming, but loud enough to create a mood. This audio-visual combination is what triggers the emotional reaction from the viewer, causing them to like and comment.
In summary, we have learned that creating viral AI content is a multi-step workflow that combines creativity with technical skills. We started by engineering a precise text prompt to generate a static image using Google Gemini. Then, we transformed that static image into a dynamic animation using an Image-to-Video model, ensuring we used the correct portrait aspect ratio. We advanced our skills by using the “Scene Extension” feature to lengthen our footage, and finally, we used video editing software to refine the visual framing and add audio atmosphere. Mastering these tools gives you the power to be a digital director. Now, I want you to go and try creating your own variation—perhaps a diver and a shark, or an astronaut and an alien—and see what story you can tell.